How to Use Face ID on an iPhone
[ad_1]

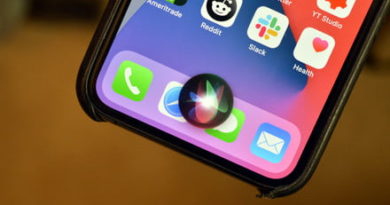
The successor to fingerprint scanning, facial recognition addresses our demand to be rid of passwords forever. While passwords are currently still necessary, biometric technologies ease the burden of entering them in front of spying eyes. Face ID is Apple’s take on facial recognition, and it’s probably one of the best out there, being secure and fast.
The iPhone X was Apple’s first smartphone to include facial recognition, replacing both the Home button and its Touch ID sensor. There are currently 11 models with this technology: The X Series, 11 Series, and 12 Series. However, not everyone may know how to make the most of it.
As such, this guide explains how to set up and use Face ID on an iPhone. We also show how to enable and disable Face ID for specific apps, turn off the attention requirement, and more.
How to set up Face ID on an iPhone
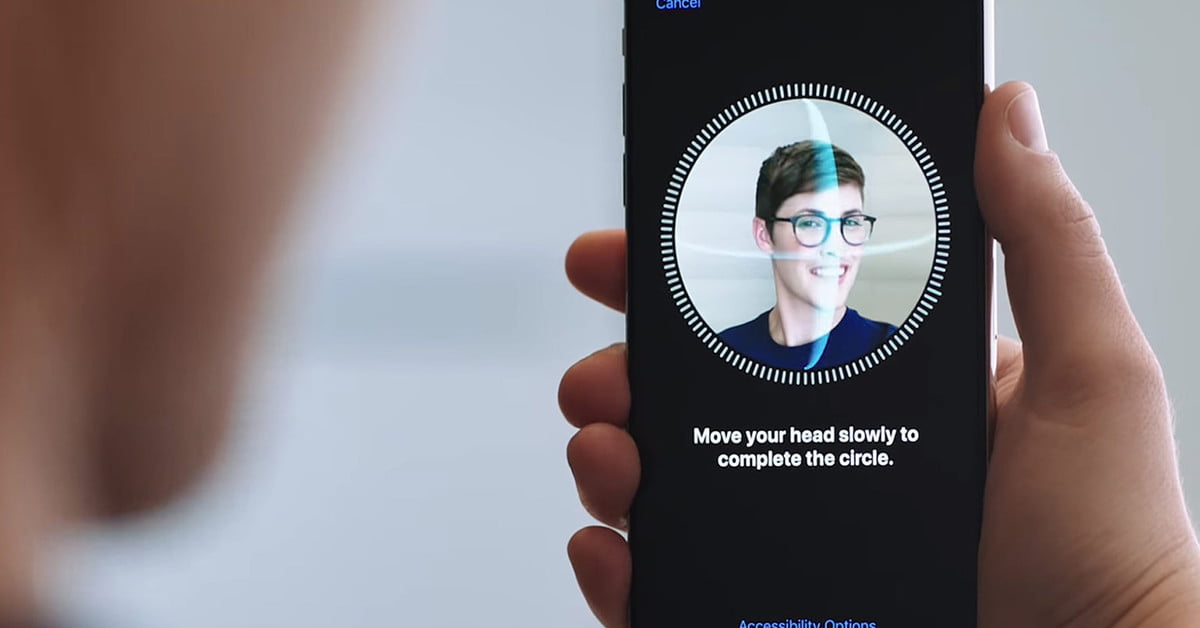
Setting up Face ID is easy. When a compatible iPhone is turned on for the first time, it prompts users to set up Face ID as a part of the setup process. This entails slowly rotating your head in circles to capture the various angles and contours of your face. This must be done twice, but it’s a very simple process and shouldn’t take much time.
However, thanks to 2020, iOS and iPadOS now support an “alternate” appearance to better support masks. Thus, you can create one appearance without a mask and one with a mask. This “alternate” aspect is also good for unlocking your iPhone when wearing dark sunglasses or if you’re sporting a new beard.
Assuming that you chose not to set up Face ID during the initial setup, you can activate it later by following these steps:
Step 1: Open the Settings app.
Step 2: Scroll down and tap Face ID & Passcode.
Step 3: Enter your passcode to continue.
Step 4: Tap Set Up Face ID.
Step 5: Position your face in front of your upright iPhone (portrait mode) and tap Get Started.
Step 6: Be sure your face is visible within the circle and rotate your face as instructed.
Step 7: Tap Continue to progress to the second scan.
Step 8: Rotate your face for a second time as instructed.
Step 9: Tap Done to finish.
You can now use facial recognition to unlock your iPhone, access accounts, make payments, and so on.
How to Set Up an Alternate Appearance
Enable this feature to access your iPhone when wearing a mask, dark sunglasses, a heavy beard, and so on. This way, your iPhone doesn’t go into lockdown mode because it doesn’t recognize you with a mask on.
Step 1: Open the Settings app.
Step 2: Scroll down and tap Face ID & Passcode.
Step 3: Enter your passcode to continue.
Step 4: Tap Set Up an Alternate Appearance.
Step 5: Position your face in front of your upright iPhone (portrait mode). Be sure you’re wearing a mask (positioned so it’s covering only half your face), sunglasses, or whatever you think will be on your face, and then tap Get Started.
Step 6: Be sure your face is visible within the circle and rotate your face as instructed.
Step 7: Tap Continue to progress to the second scan.
Step 8: Rotate your face for a second time as instructed.
Step 9: Tap Done to finish.
How to use Face ID on an iPhone
If setting up Face ID on your iPhone is easy, using it is even easier. Raise or tap to wake your iPhone, and then simply look at it. Once the phone recognizes your face and the little padlock icon “unlocks,” swipe up from the bottom of the screen to load the Home screen. That’s it.
If the iPhone fails to recognize you, the padlock shrinks to add a message stating to “swipe up to unlock,” as shown above. Once you do, tap in the passcode and the phone opens to the Home screen. This is why setting up a passcode is vitally important.
If you want to use Face ID for making purchases and auto-filling passwords, do the following to make sure Face ID is enabled for these tasks:
Step 1: Open Settings.
Step 2: Tap Face ID & Passcode.
Step 3: Be sure the following is toggled on (green):
- iPhone Unlock
- iTunes & App Store
- Apple Pay
- Password AutoFill
Step 4: Tap Other Apps to load a list of third-party apps that support Face ID.
Step 5: Tap the toggle next to each app to enable (green) or disable Face ID.
With Face ID enabled for App Store purchases, you’ll be prompted to double-tap the iPhone’s Side button when buying apps. This will then activate Face ID, which will require you to look at your iPhone. The same goes for purchases made using Apple Pay, although in this case, you’ll have to hold your iPhone close to the payment terminal after using Face ID.
Other Face ID-related features
There are a few adjustments you can make to Face ID’s settings to make it work more effectively for you, depending on your needs.
Require Attention for Face ID
This setting requires you to look directly at the phone in order for Face ID to unlock the device and so on. If this becomes problematic, such as working on-site and you need to unlock the device without looking directly at the screen, this requirement can be disabled. Here’s where:
Step 1: Open Settings.
Step 3: Tap Face ID & Passcode.
Step 3: Tap the Toggle next to Require Attention for Face ID. Green indicates that the feature is toggled on.
Attention Aware Features
With this toggled on, the iPhone uses Face ID to see if you’re facing the screen. If you are looking at the phone, the display will not dim. The phone will also lower the volume sound of alerts and keep notification popups minimal in size. To enable or disable this feature, do the following:
Step 1: Open Settings.
Step 3: Tap Face ID & Passcode.
Step 3: Tap the Toggle next to Attention Aware Features. Green indicates that the feature is toggled on.
Editors’ Recommendations
[ad_2]
Source link