SwiftKey Tips and Tricks for Android and iOS
[ad_1]

If you’re seeking an alternative to your smartphone or tablet’s default keyboard, Microsoft’s SwiftKey Keyboard — available on iOS or Android — may be a compelling option. Initially released in 2010, SwiftKey brings artificially intelligent typing predictions, expansive customization, and varied typing style options to your mobile device. Whether you are looking for a new keyboard to boost your typing efficiency, or you simply wish to look at a nicer theme, our tips and tricks will help you get the most out of SwiftKey.
Please note some SwiftKey features are only available on Android devices.
Backup and Sync your settings (Android & iOS)
Before you start customizing SwiftKey for your device, be sure to set up the application’s built-in backup function. With this setting enabled, SwiftKey will save data it has learned about your typing style to the cloud, which can then be retrieved by other smartphones or tablets signed in and using the keyboard. New versions of SwiftKey can back up and sync your words across multiple devices when you sign in. On iOS, you can set the backup immediately by signing in with Microsoft, Google, Facebook, or Sign in with Apple. On Android, sign in with Microsoft or Google. If you skip the sign-in step upfront, you can still ensure your backup is enabled by opening the SwiftKey app on your device and going to Account > Backup & Sync.
Add a Number Row (Android & iOS)
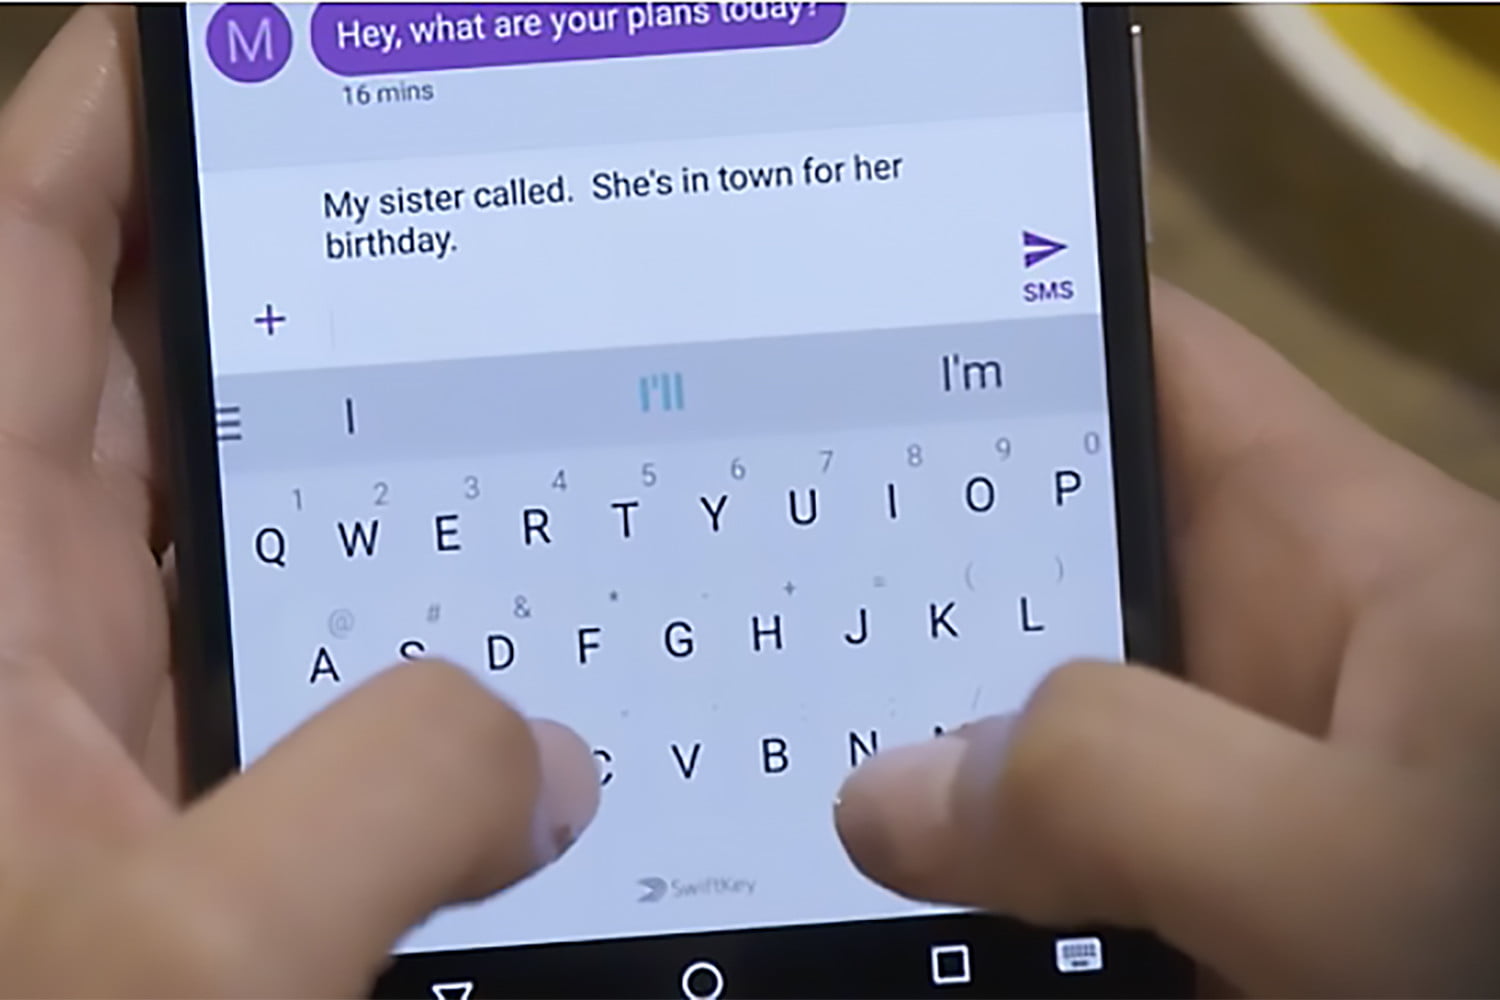
Are you tired of switching to a sub-menu to type numbers? With SwiftKey, you are only a few taps away from adding a number row to your keyboard on either platform. To enable the number row on Android, launch the app, then tap Layout & Keys > Number Row and toggle it on. On iOS, tap Settings >Number Row and toggle on the control.
Enable classic SwiftKey gestures (Android & iOS)
If you aren’t a fan of SwiftKey’s Flow feature, which allows you to type a word by merely sliding your finger between the letters, try the Classic SwiftKey mode. To disable SwiftKey Flow and switch to Classic mode, launch the Swiftkey app and navigate to the Typing > Gesture Input > Gestures section on Android or the Microsoft SwiftKey Flow control on iOS. Use the Radio button to select the Gestures option on Android, which will enable Classic Swiftkey mode, which lets you swipe left on the keyboard to delete a word, down to minimize the keyboard, and up to capitalize. For iOS, just toggle off the control.
Customize your keyboard theme (Android & iOS)
SwiftKey lets you customize how your keyboard looks. You can select from many professionally designed preset themes or build your own keyboard from scratch. To select a keyboard theme, open the Swiftkey app, then select the Themes option. Scroll through the built-in selection of keyboard themes, and choose your favorite by tapping on it. If you want to get more personal, select the Design Your Theme option at the top to create a keyboard based on an image from your photos.
Enable multiple languages (Android & iOS)
Are you multilingual? SwiftKey Keyboard facilitates using multiple languages for autocorrect and dictionary precision. To add additional keyboard language profiles, open the SwiftKey app and select Languages, and from here, choose and download any additional language options. Android users can select up to five languages, while iOS users can select two. If your language uses a different keyboard layout such as AZERTY instead of QWERTY, you can effortlessly switch between the layouts by holding down the spacebar.
Save snippets to the Clipboard (Android & iOS)
Do you wish you could save content that you copy in a longer-lasting clipboard? SwiftKey includes a powerful built-in clipboard that saves text for up to one hour. To access your clipboard and paste content from it, begin by bringing up the keyboard and tapping Rich Input > Clipboard, where you will find all of your saved clips from the past hour. On iOS go to Settings > Clipboard to toggle it on. Or tap Add a New Clip to save something.
Float your keyboard (Android)
Say you don’t want your keyboard anchored to the bottom of the screen. You can float it to any position you want, but only if you are using an Android phone. Unlock the keyboard and then tap the three-dot icon on the toolbar. Go to Modes > Float and then tap and drag the two lines at the bottom to reposition the keyboard. To re-dock your keyboard, drag it back to the bottom of your screen.
Check your Stats (Android & iOS)
Want to see how SwiftKey has improved your typing experience? On Android, go to Typing > Typing stats and view the various categories that SwiftKey tracks. On iOS, just launch the app and scroll down. Usage stats lets you view your Type Map to see how your keyboard has adjusted behind the scenes to fit your typing style, how many typos the keyboard has corrected, the distance your finger has traveled using the Flow feature, the number of words predicted, and more.
Insert emojis, GIFs, and photos (Android & iOS)
Are you attempting to express emotion via text, but need a GIF or emoji to get the point across? SwiftKey lets you quickly insert an emoji, GIF, or image from your camera roll with just a tap. With the keyboard open, select the Toolbar by tapping the plus icon (+), and then select the type of media you wish to insert. When selecting a GIF or emoji, you can either manually search for the content or use the search bar.
Enable Arrow Keys for navigation (Android)
If you seek arrow keys to aid text navigation, look no further. Just launch the SwiftKey app on your device and select Layout & keys > Arrow Keys. When enabled, your keyboard will show arrow keys at the bottom of the screen, which you can use to navigate large documents or any other text field.
Editors’ Recommendations
[ad_2]
Source link